
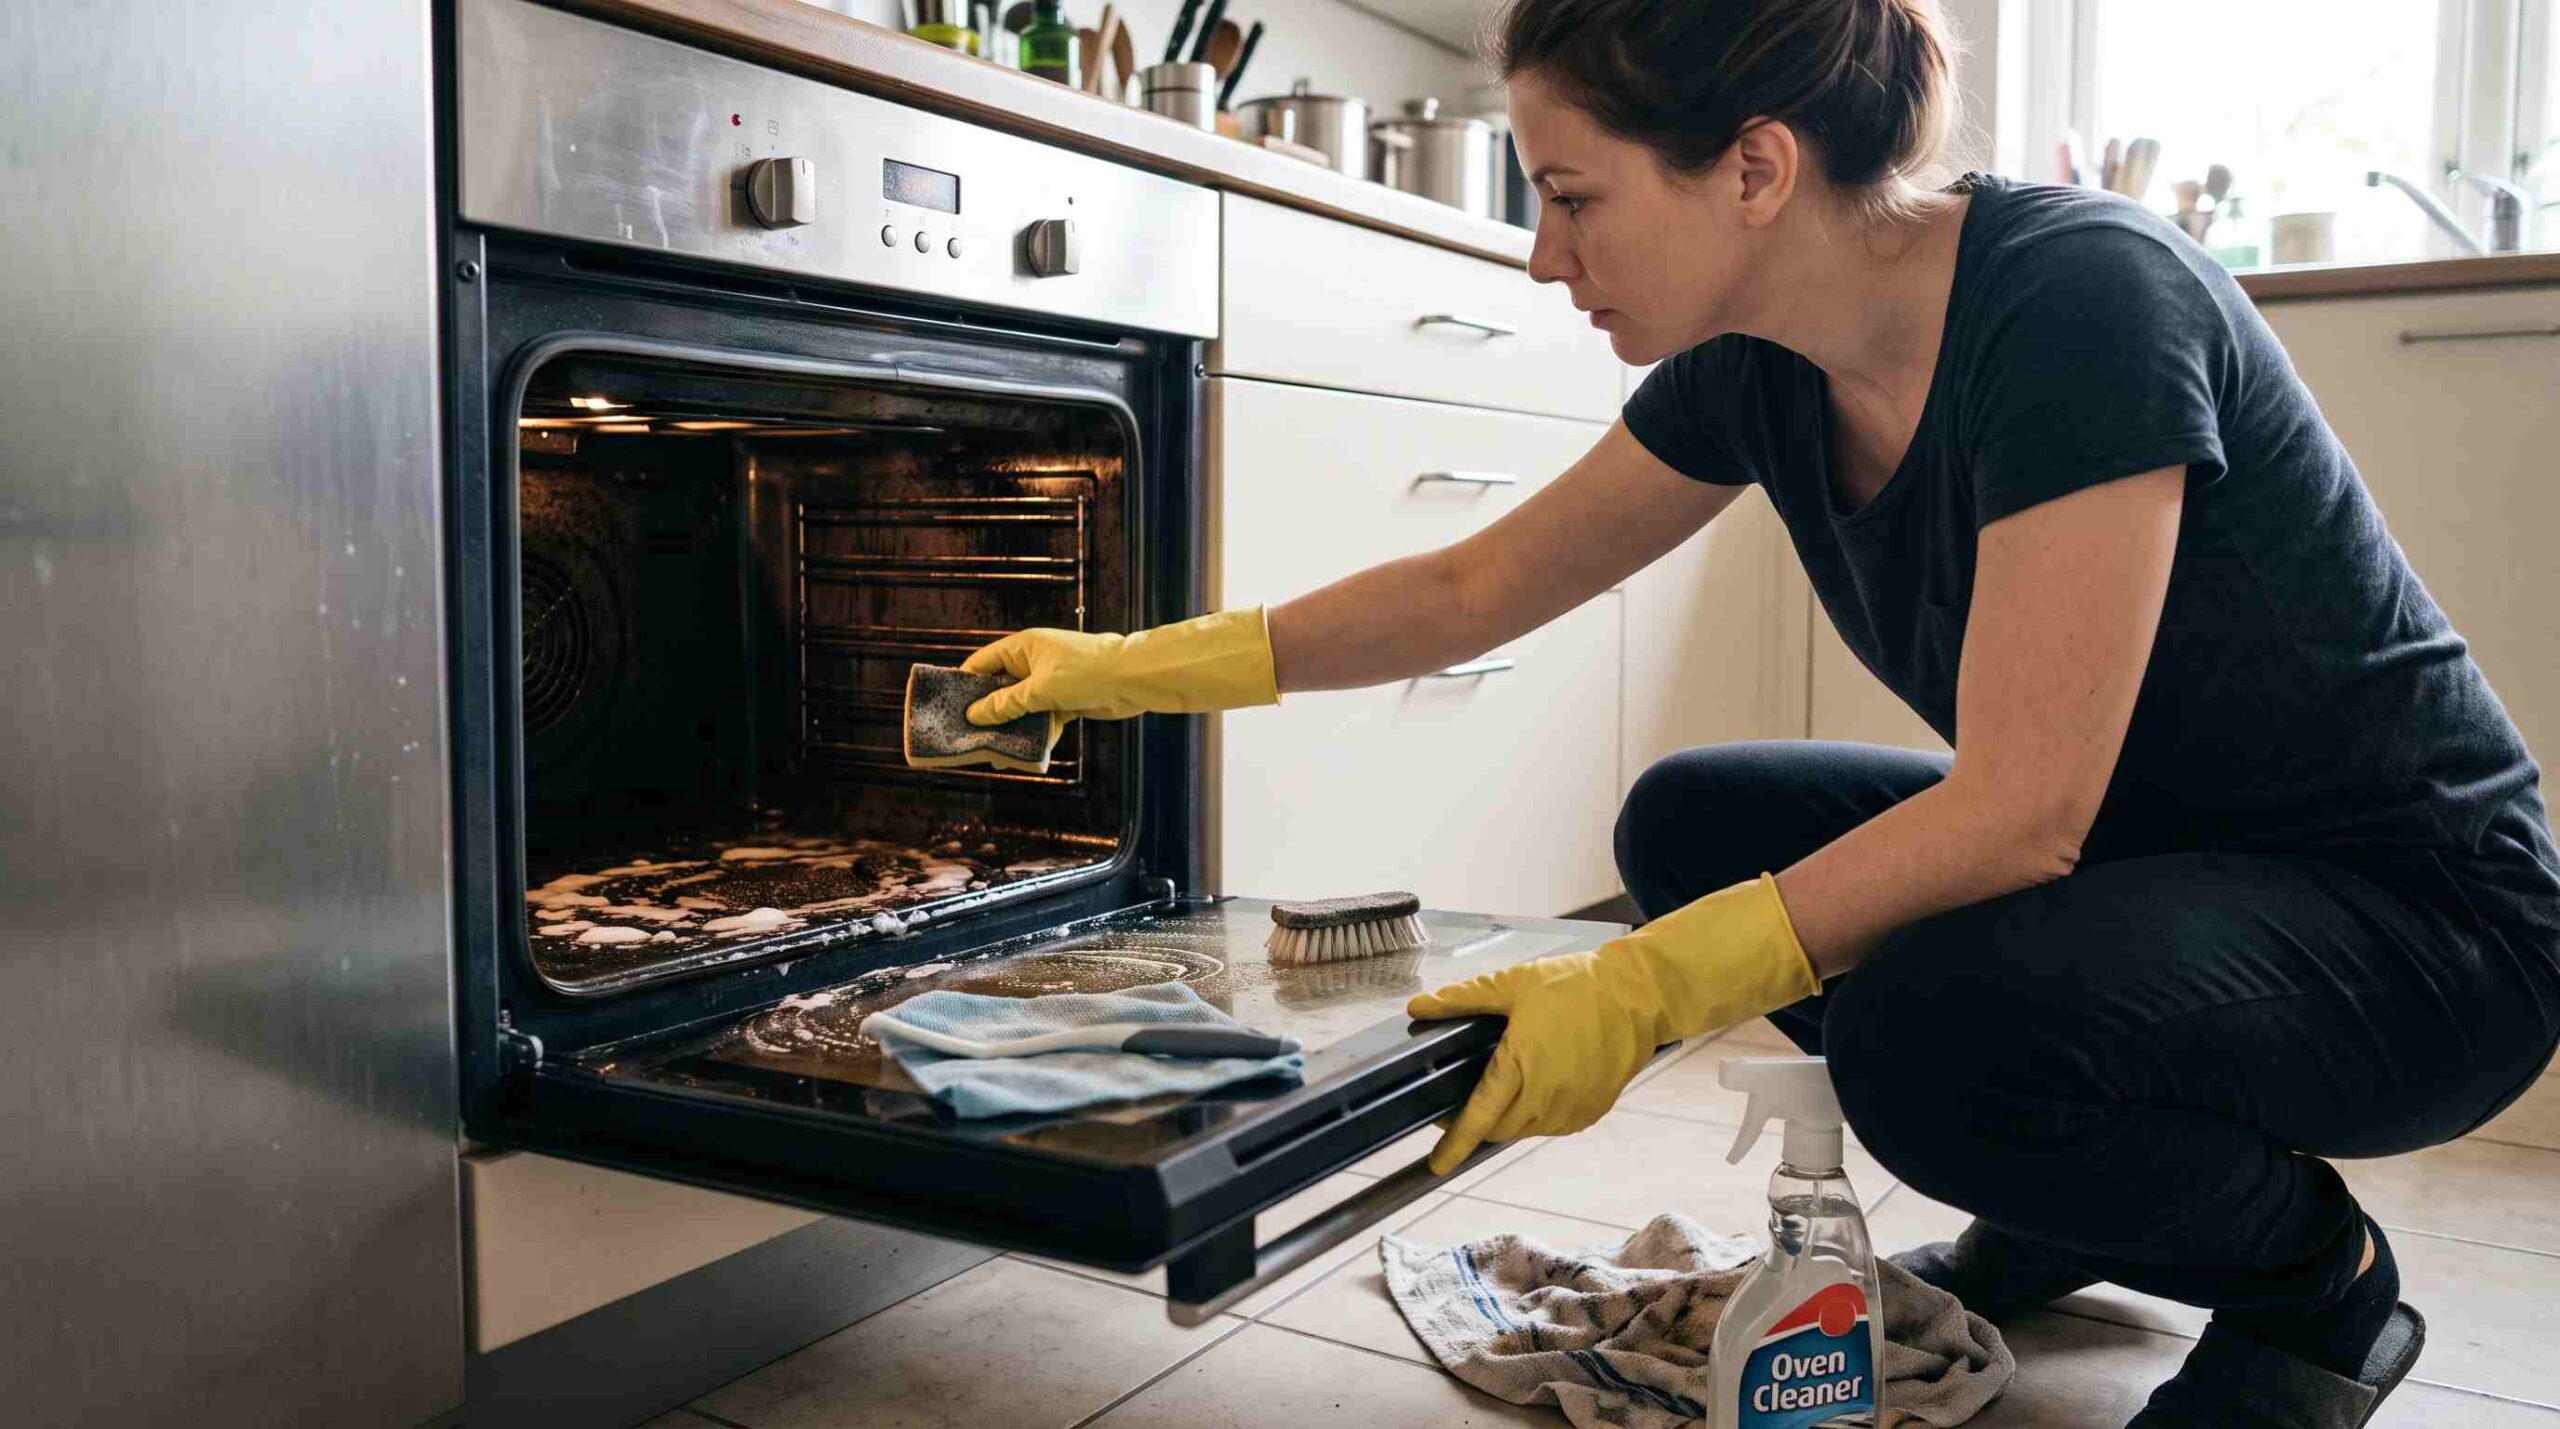
If your kitchen has started smelling like burnt pizza every time you preheat, it’s time to learn how to clean oven surfaces properly. A dirty oven doesn’t just look bad — it smokes, smells, and can even affect how evenly your food cooks. The good news is that learning how to clean oven interiors doesn’t require fancy equipment or a full afternoon. With the right approach, you can get your oven looking (and smelling) brand new in under two hours.
Why You Should Learn How to Clean Oven Interiors Regularly
Most people only think about how to clean oven interiors when the smoke alarm goes off. But grease and burnt food residue build up slowly, layer by layer, until they become a serious fire hazard. According to the U.S. Fire Administration, cooking equipment is one of the leading causes of home fires, and a buildup of grease is often part of the problem.
Beyond safety, a clean oven simply performs better. Baked-on grime can throw off your oven’s temperature accuracy, meaning your cookies might burn on the bottom while staying raw in the middle. Cleaning your oven every one to three months — depending on how often you cook — keeps it running efficiently and smelling fresh.
What You’ll Need Before You Start
Before diving into how to clean oven racks and interiors, gather a few basic supplies. You probably already have most of these at home:
- Baking soda
- White vinegar
- A spray bottle
- Rubber gloves
- A damp microfiber cloth or sponge
- An old toothbrush (for tight corners)
- A plastic scraper (never metal — it can scratch the enamel)
You don’t need harsh commercial oven cleaners unless your oven is in truly rough shape. The baking soda and vinegar method below works well for most households and avoids the strong fumes that come with chemical cleaners.
The Baking Soda Method: The Easiest Way to Clean Oven Interiors
This is the most popular method for how to clean oven interiors naturally, and for good reason — it’s cheap, effective, and gentle on your lungs.
Start by removing the oven racks and setting them aside (we’ll cover those separately). Mix about half a cup of baking soda with a few tablespoons of water until you get a spreadable paste. Using gloves, smear this paste across the interior surfaces of the oven, avoiding the heating elements. Pay extra attention to areas with visible grease or burnt spots.
Let the paste sit for at least 12 hours, though overnight works best. During this time, the baking soda breaks down grease and loosens baked-on food particles. The next step in how to clean oven interiors is simple: wipe everything down with a damp cloth. You’ll likely need to go over it a few times to remove all the residue.
Once most of the paste is gone, lightly spray the remaining residue with white vinegar. It will fizz slightly when it reacts with the leftover baking soda, which helps lift any stubborn spots. Wipe clean with a fresh cloth, and your oven interior should look noticeably better.
How to Clean Oven Racks Separately
Oven racks tend to collect the heaviest grease buildup, so they deserve their own cleaning session. One effective trick, recommended by Good Housekeeping, is soaking the racks in a bathtub lined with towels, filled with hot water and a cup of dish soap or dishwasher detergent.
Let the racks soak for a few hours or overnight. The grime should soften enough that you can scrub it off with a sponge or an old toothbrush for the corners. Rinse thoroughly before placing them back in the oven. This step is just as important as cleaning the interior, since dirty racks can drip grease back onto surfaces you just cleaned.
Tackling the Oven Door and Glass
The glass window on your oven door often gets overlooked, but a foggy, grease-streaked window makes the whole appliance look neglected. If your oven door is removable, take it off according to your manufacturer’s instructions — this makes cleaning the glass far easier.
Apply the same baking soda paste to the glass, let it sit for 20–30 minutes, then wipe clean with a damp cloth. For stubborn residue between double-pane glass, a flathead screwdriver wrapped in a cloth can help you reach in without scratching the surface.
Using the Self-Cleaning Function Safely
Many modern ovens include a self-cleaning cycle, which heats the interior to extremely high temperatures to burn off residue into ash. While convenient, this method isn’t always the best choice. The high heat can release fumes that bother people with respiratory sensitivities, and it can sometimes damage older oven components.
If you do use the self-cleaning function, make sure your kitchen is well-ventilated, remove the racks first (heat can warp them), and never leave the house while it’s running. Once the cycle finishes and the oven cools, simply wipe away the ash residue with a damp cloth.
Maintaining a Clean Oven Going Forward
Once you’ve gone through the full process of how to clean oven interiors from top to bottom, a little maintenance goes a long way. Wipe up spills as soon as the oven cools after each use, and place a sheet of foil or a baking tray on the bottom rack to catch drips during cooking (just avoid covering the oven’s vents).
Doing a quick wipe-down every few weeks means you’ll rarely need to repeat the full deep-clean process, and your oven will stay both safer and more efficient to use.
Final Thoughts
Knowing how to clean oven interiors properly saves you time, protects your appliance, and keeps your kitchen smelling like dinner instead of smoke. Whether you go with the natural baking soda method or your oven’s built-in self-clean cycle, the key is consistency — a little regular upkeep prevents the kind of buildup that turns cleaning into a dreaded chore.