
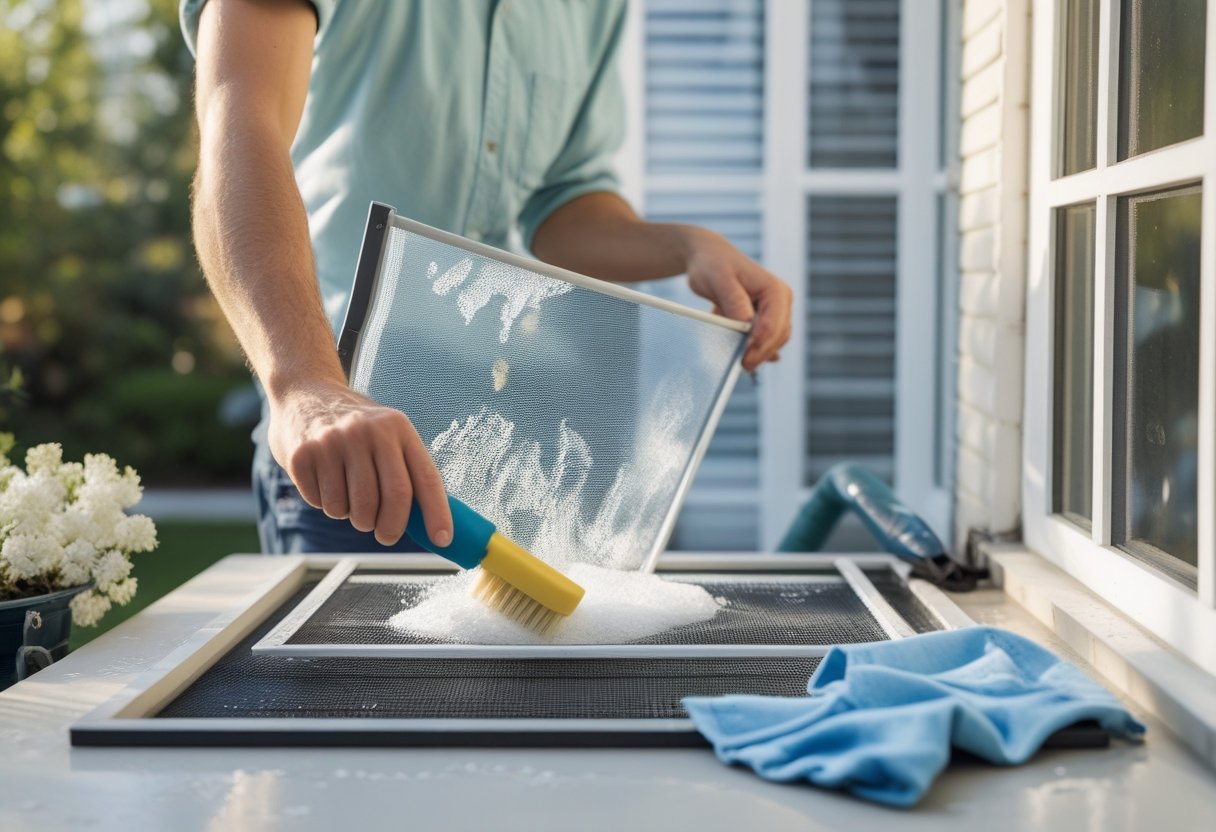
If your windows look dusty even right after you’ve wiped the glass, the problem usually isn’t the glass at all — it’s the screen in front of it. Knowing how to clean window screens properly makes a bigger difference to how bright and clear your home feels than almost any other quick cleaning job. It only takes about 15–20 minutes per screen, and you probably already have everything you need.
Why Window Screens Get So Dirty
Window screens sit between you and the outside world 24/7, which means they catch pollen, dust, exhaust residue, cobwebs, and in coastal areas, salt spray. Because the mesh is so fine, grime builds up in layers you can’t always see until the screen looks grey instead of silver. This is exactly why learning how to clean window screens on a regular basis — not just during spring cleaning — keeps your whole house looking brighter and your indoor air a little fresher, since screens filter some of that outdoor debris before it ever reaches your window sill.
What You’ll Need Before You Start
You don’t need anything fancy to clean window screens well. A soft-bristle brush (an old dish brush or soft toothbrush works fine), a bucket, mild dish soap, warm water, a microfiber cloth, and a garden hose or shower are all you really need. If you want extra shine, white vinegar diluted with water is a great natural option — The Spruce has a solid breakdown of vinegar-based cleaning solutions if you want to go the all-natural route instead of commercial cleaners.
Step One: Remove the Screens
Most residential window screens pop out with a gentle push from the inside, or they’re held in with small clips you can release with a flathead screwdriver. Lay them flat on a towel on the grass or a driveway. Removing the screen before you clean it — rather than scrubbing it while it’s still in the frame — is the single biggest difference between a screen that looks okay and one that looks genuinely clean, because you can get to both sides evenly.
Step Two: Vacuum or Brush Off Loose Debris
Before any water touches the screen, run a vacuum with a brush attachment over both sides, or knock it gently against a soft surface to dislodge dry dust, pet hair, and cobwebs. Skipping this step is the most common mistake people make when they try to clean window screens — wetting dry dirt first just turns it into mud that smears into the mesh instead of lifting off it.
Step Three: Wash With Soap and Water
Fill a bucket with warm water and a few drops of mild dish soap. Dip your soft brush in and scrub the screen in gentle, circular motions, working in small sections so you don’t miss spots. This is the core of how to clean window screens the right way: soft tools, mild soap, and patience, rather than scrubbing hard or using anything abrasive that could stretch or tear the mesh. For stubborn grime, a 1:1 vinegar-and-water solution works well as a natural alternative — Good Housekeeping has tested several homemade cleaning solutions that hold up particularly well on fine mesh.
Step Four: Rinse Thoroughly From Both Sides
Once you’ve scrubbed every section, rinse the screen with a garden hose on a gentle setting, or carry it to the shower if you’re doing this indoors during colder months. Rinse from both sides to push any remaining soap and loosened dirt all the way out of the mesh rather than just off the surface. Leftover soap residue is actually one of the main reasons people feel like they didn’t really clean window screens properly — it dries as a hazy film that catches even more dust afterward.
Step Five: Dry Completely Before Reinstalling
Prop the screens up against a wall or fence in a shaded spot and let them air dry completely. Direct sun can warp some screen frames over time, so shade is the safer choice. Reinstalling a damp screen traps moisture against the frame and can encourage mold or mildew, especially in humid climates, so this step matters more than people expect.
How Often You Should Actually Do This
For most homes, cleaning window screens twice a year — once in spring and once in fall — is enough to keep them looking clear. If you live near a busy road, in a dusty region, or close to the coast, bumping that up to every 3–4 months keeps buildup from getting ahead of you. The EPA’s guidance on indoor air quality notes that outdoor pollutants can work their way indoors through everyday ventilation, which is one more reason to keep screens clean rather than letting them become a filter that’s overdue for a change.
A Few Extra Tips
If a screen has small holes or tears, patch kits are inexpensive and take just a few minutes — no need to replace the whole screen. For hard-water spot prevention, a final wipe with a microfiber cloth right after rinsing helps avoid streaks as the screen dries. And if you’re cleaning several windows at once, doing it assembly-line style — pop out, vacuum, wash, rinse, lean to dry — is far faster than finishing one screen completely before starting the next.
The Bottom Line
Once you know how to clean window screens properly, it becomes one of those small maintenance habits that pays off every single day — more natural light, cleaner air flowing through open windows, and a home that just looks brighter overall. It’s a simple job, but doing the steps in the right order is what separates a screen that still looks dingy from one that looks almost new.
If you’re tackling other home projects alongside this one, you might also find our free online tools and calculators handy for quick everyday tasks around the house.