
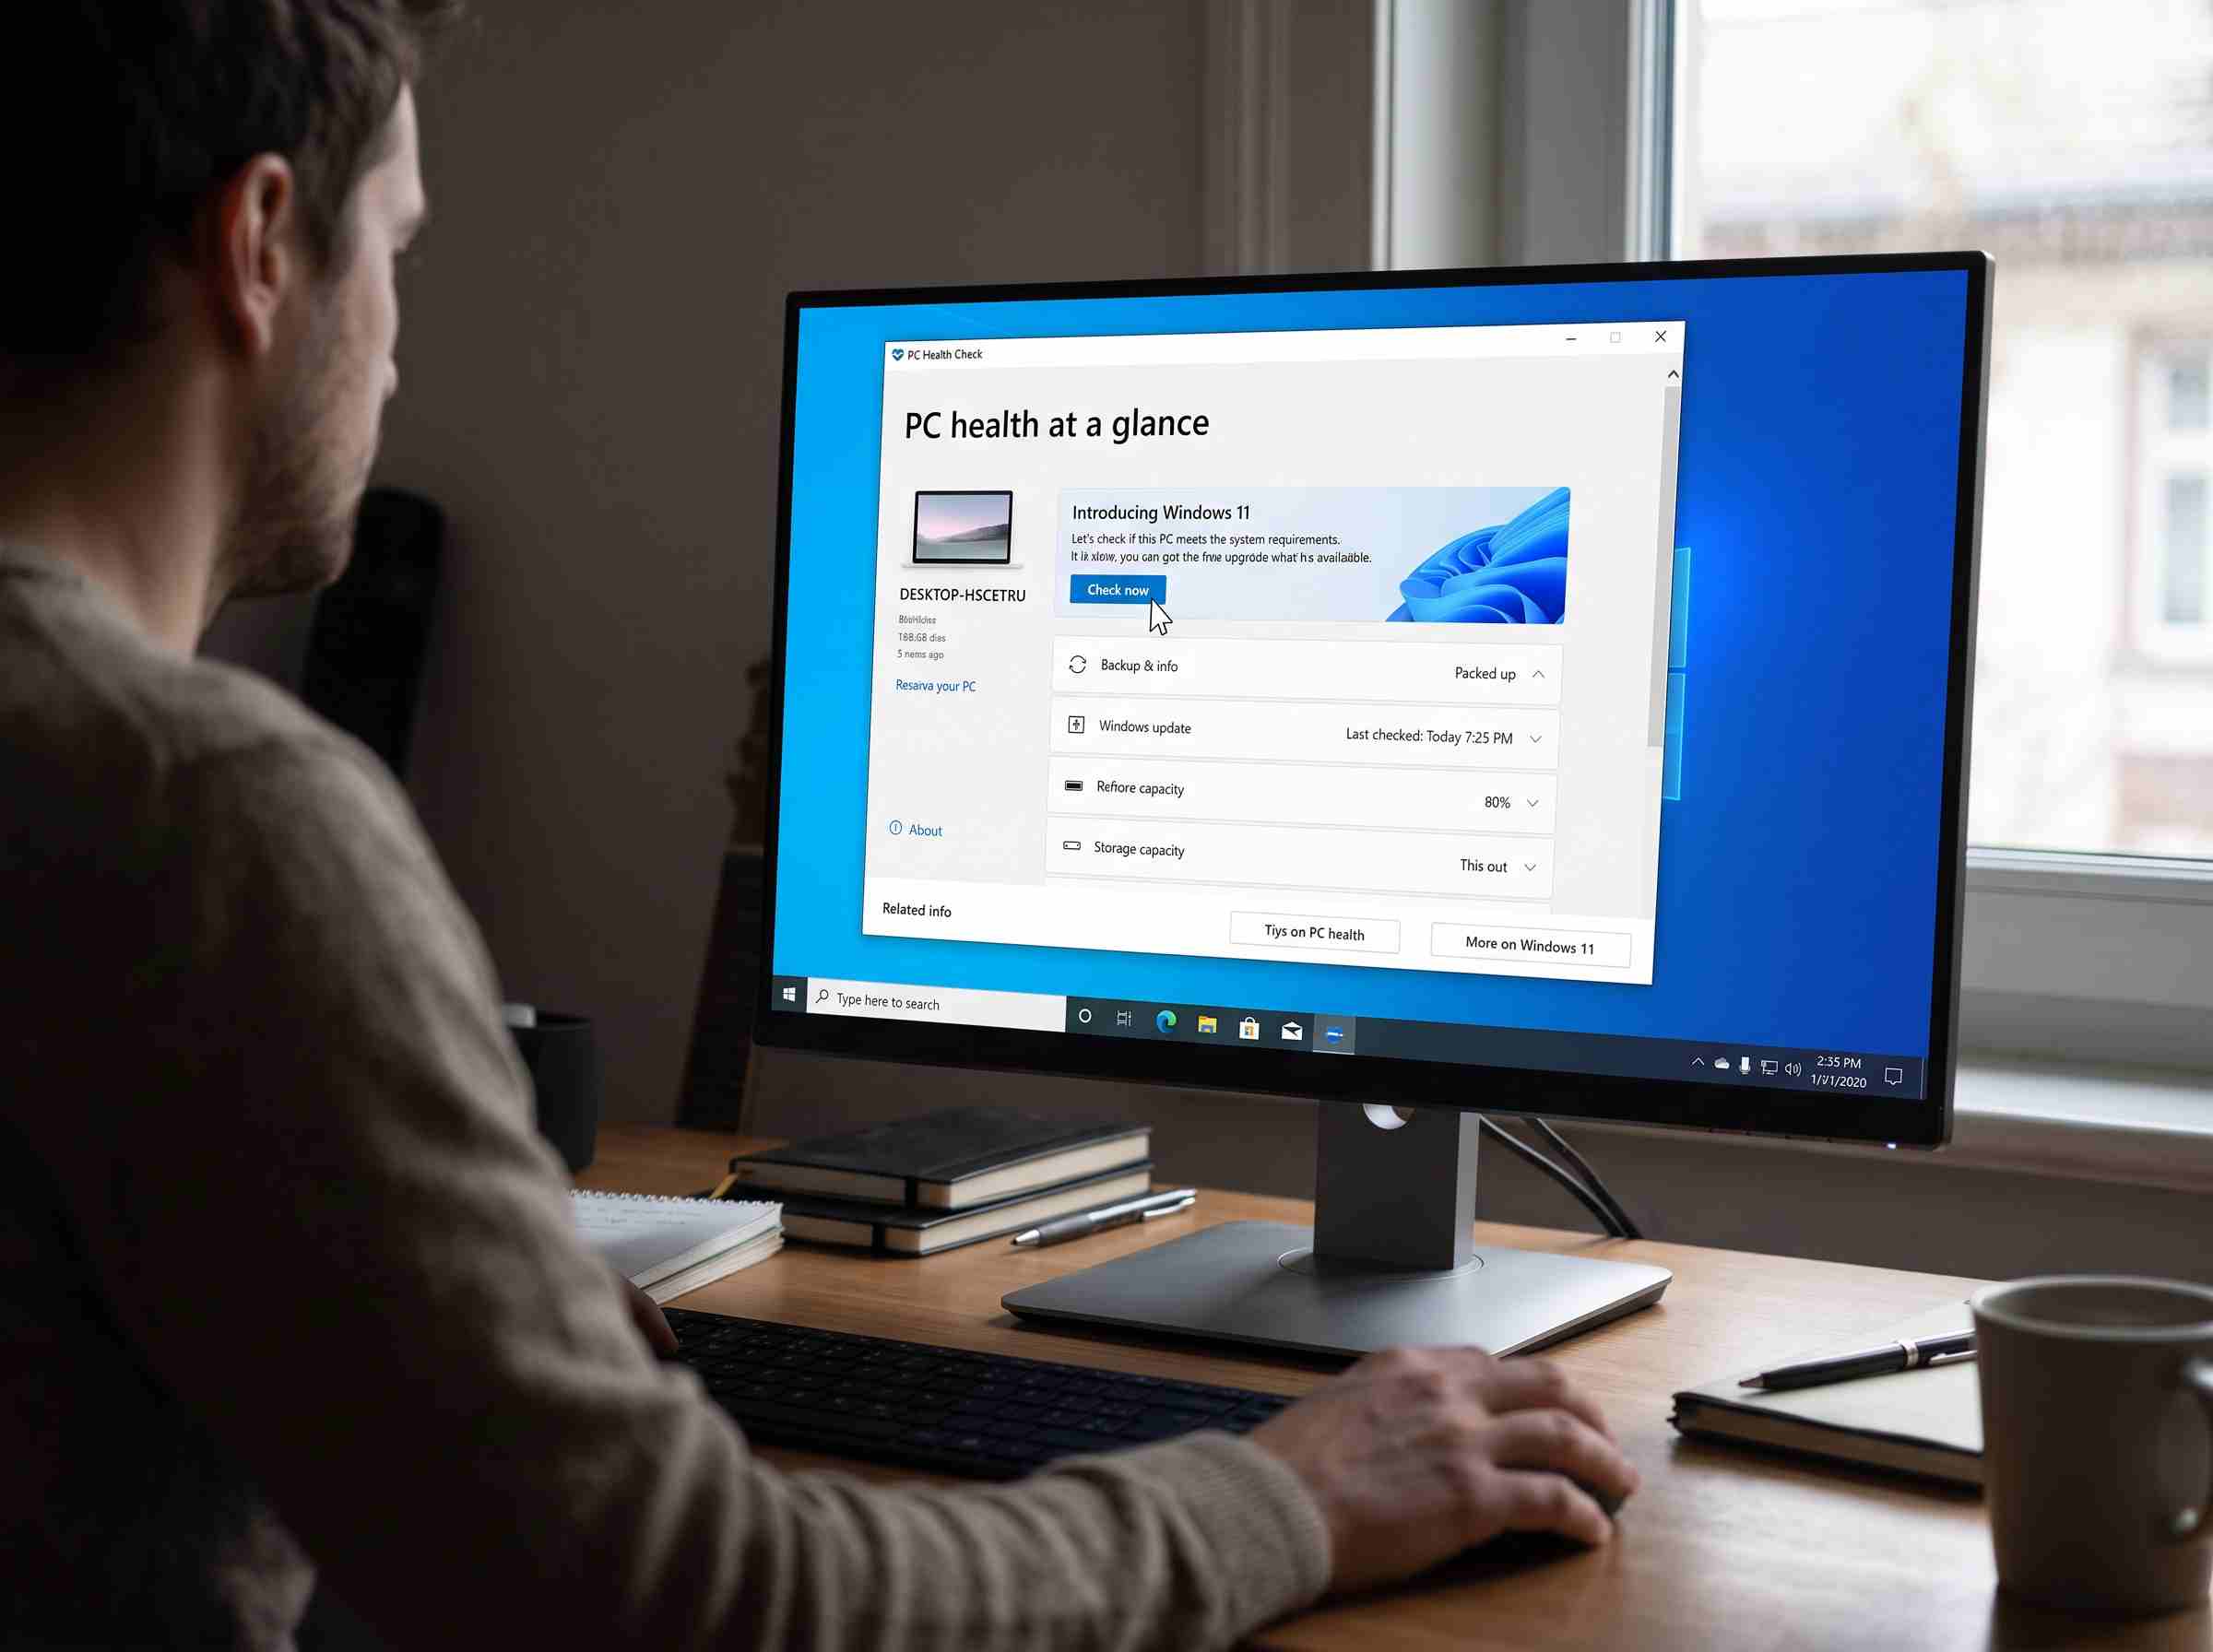
Microsoft set strict hardware requirements for this release. That’s why people search for how to check if my computer can run Windows 11 before they upgrade. Older Windows versions installed on almost any machine. This one won’t. Even a solid laptop from a few years back might fail the check. A quick check beats a guess. It takes a few minutes and saves you from a failed install or a confusing error message.
What Windows 11 Actually Requires
Before you check, you should know the requirements. Microsoft’s official minimum system requirements call for a 64-bit processor with at least two cores at 1 GHz or faster. You also need 4GB of RAM and 64GB of storage. Your PC needs UEFI firmware with Secure Boot enabled and a graphics card that supports DirectX 12. Then there’s the requirement that trips up most older machines: a Trusted Platform Module (TPM) version 2.0. This single spec disqualifies a lot of otherwise capable computers.
How to Check if My Computer Can Run Windows 11 With the PC Health Check App
Microsoft built a free tool for exactly this purpose: the PC Health Check app. Download it from Microsoft’s official page and install it. Open the app and click “Check now.” Within seconds, it tells you whether your PC qualifies. If it doesn’t, the app names the reason. It might flag an unsupported processor, a missing TPM, or a disabled Secure Boot setting. You won’t be left guessing.
Checking Manually If You Prefer Not to Install Anything
You don’t need to install another app to check. Windows already has the tools built in. Press Windows key + R, type “msinfo32,” and hit Enter. This opens System Information. Look for your processor model, installed RAM, and system type (it should say “x64-based PC”). To check TPM status, type “tpm.msc” into the Run box instead. This opens the TPM Management console, which shows whether TPM 2.0 is present and active. To confirm Secure Boot, go to Settings > Privacy & security > Windows Security > Device security, and check the “Security processor” section.
Checking Your Processor Against Microsoft’s Approved List
Some machines fail the check even with a modern processor. Microsoft maintains a specific list of supported chips, and many people skip this step. Look up your exact CPU model against the approved Intel and AMD processor lists Microsoft publishes. If your processor isn’t on the list, the PC Health Check app will flag it. This happens even when every other spec checks out.
What to Do If Your PC Isn’t Compatible
A “no” result doesn’t mean you’re out of options. First, check whether TPM 2.0 is simply disabled in your BIOS. Many motherboards from the last several years support it, but manufacturers often ship them with it switched off. Restart your PC and enter the BIOS. Press F2, F10, or Delete during boot, depending on your machine. Look for a setting labeled TPM, fTPM, or PTT, usually under the Security tab. Enabling it there fixes the issue for a lot of users, with no new hardware needed. If your processor isn’t supported, or your motherboard has no TPM chip at all, you have two choices. Stay on Windows 10, which Microsoft still supports with updates, or plan a hardware upgrade for later.
Don’t Skip This Step Before You Upgrade
Checking how to check if my computer can run Windows 11 takes five minutes. That small step prevents real frustration later. Use the official Health Check app, or check manually through System Information. Either way, you’ll know exactly where your PC stands. If it isn’t ready, you’ll know why. That clarity makes the whole decision easier.